How to make a cheap submersible webcam
This webcam is a project that has been featured in Bright magazine in Holland and I also took it with me as one of the projects to present on Make‘s Make Fest.
the feature in Bright magazine:


click to go to the corresponding pic on my flickr
pics from Make Fest and the poster/billboard Make made (on which this project is mentioned as well as other/older projects)


click to go to the corresponding pic on my or Bre Pettis’ flickr
It’s even mentioned in this weekend’s Make Podcast so it’s about time the whole wide world get’s a chance to see (and make) it! :-)
what you need
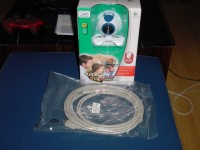
Well, what do you need for this cheap, almost disposable underwater-webcam? (I don’t suggest you throw it away, the idea being more or less that with a cheap device like this, you can experiment a little more and don’t risk losing hundreds of dollars worth of equipment, that’s all)
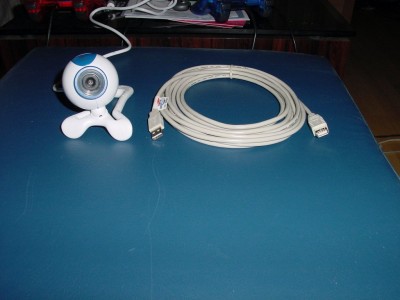
- a cheap webcam
- a USB-extension cable (up to 5 meter / 15ft.)
- a CD-cover
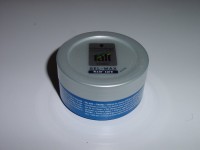
- a hairwax-container
- some glue
- some sandpaper
- a soldering iron and some solder
For the camera I used a Logitech Quickcam Chat, but you could shop for even cheaper camera’s. I wanted this to be a project which can be done from parts available almost elsewhere and these brandless camera’s can be different. This Logitech should be the same and available all over the world I guess.
The actual How to
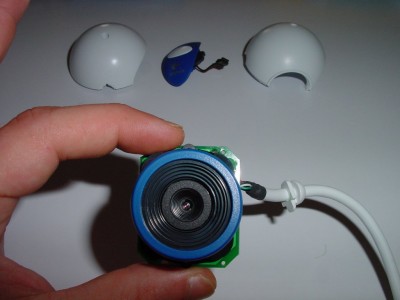
The Logitech-cam is a simple one-screw-design (just like their mice), which means when you unscrew this one screw, the whole thing comes apart. That’s how we like it!
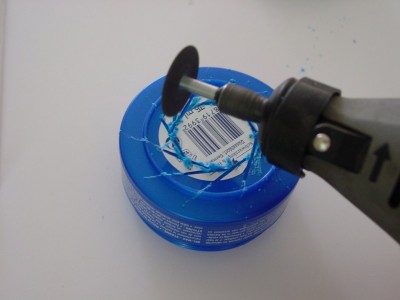
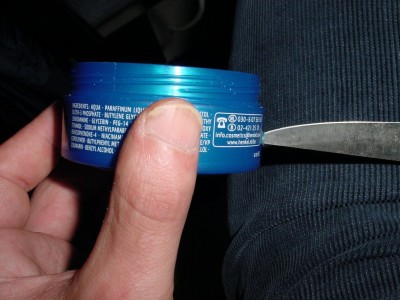
For opening up the bottom of the hairwax-container I used my Dremel. It’s a little rough, but you can adjust that later on with sandpaper.
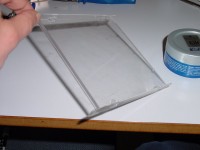
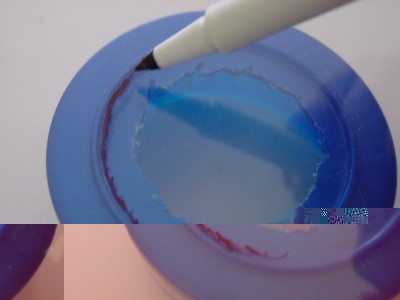
The fact that we use a transparant CD-cover is ideal for fitting purposes. Lay it on top of the bottom of the hairwax-container and draw the circle you want…
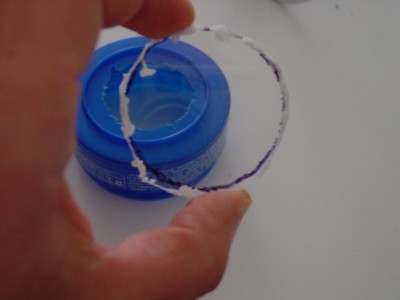
I also Dremeled the piece of ‘glass’ out of the CD-cover. So now we have two rough edges which need some sanding.
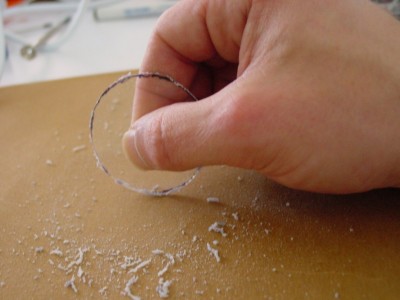
Just sand it and try to fit it every now and then and all should be fine.
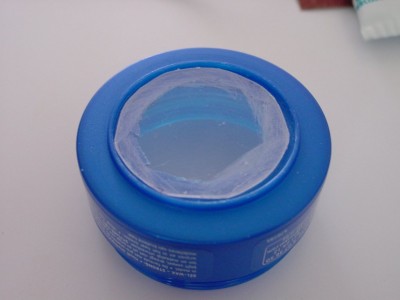
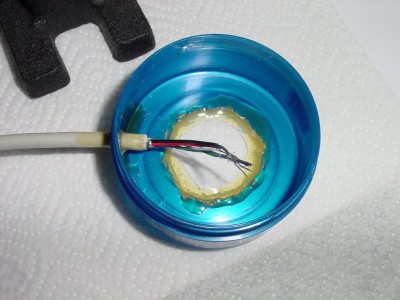
Here you see the less than perfect end-result. But this is easily made and we have a fairly large contactarea for our glue.
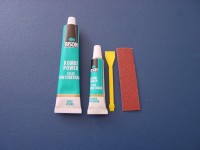
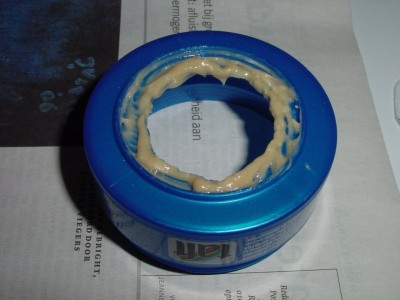
I used polyurethan glue which is extremely strong.
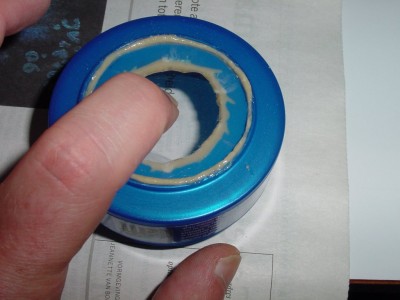
Once applied you can use some pressure to make sure it fits well together.
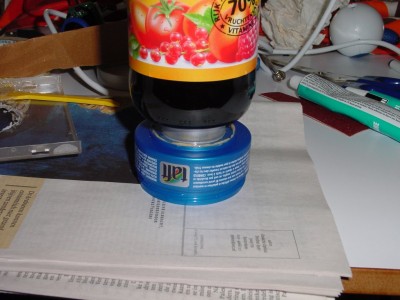
To make really sure the glue dried in the best possible way, I applied pressure during the drying-process by putting a full bottle of something on top…
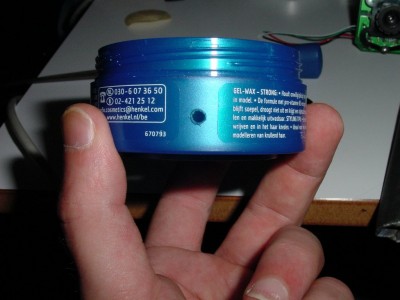
Time to cut a little hole in the hairwax-container camera-enclosure
that looks neat
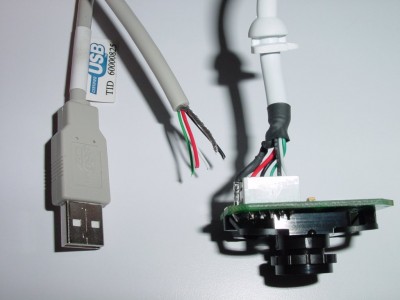
You can cut off the extension-USB-thingy from the extension-cable. That’s a part we won’t need. You can also cut off the USB-cable from the camera-print. The colour-coding of the USB-extensioncable and the camera is even the same! (yay for industry standards!)
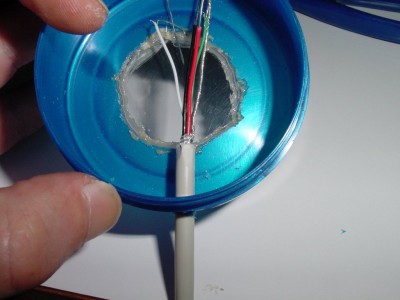
Make sure the cable fits rather tight into the just-made hole. That way the glue is only complimentary for making this thing watertight.
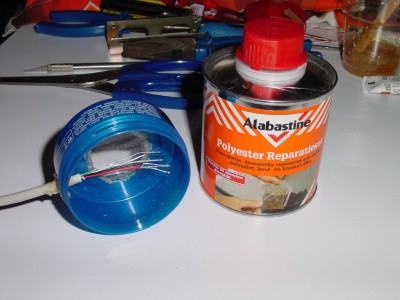
I decided I’d also use some Polyester repairkit I still had. So after the polyurethan glue I redid all the edges where water could enter our enclosure with this repairkit.
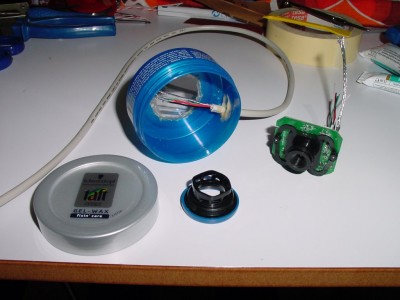
So, this is how far we are now. An enclosure, some sort of spacer for the camera-lens (which is actually extremely handy in this project) and a cameraprint with some USB-wires coming from it.
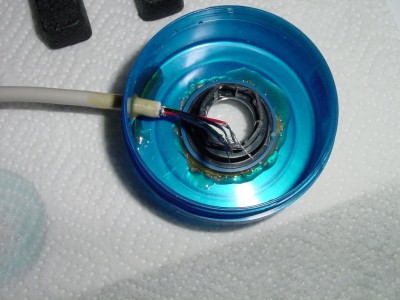
Because we have this separate ‘spacer’ for the cameralens, I decided to glue it inside the enclosure, this way the camera gets to be mounted exactly the same way each time and we still can get it loose quite simple to adjust focus or such.
Here I glued the spacer against the plastic of the CD-cover aka our ‘glass’.
Time to get the soldering-iron!
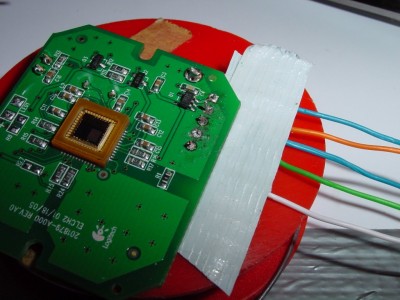
You can screw off the lens+focus part quite simple from the camera-print, so you get to see the CMOS in all it’s beauty…
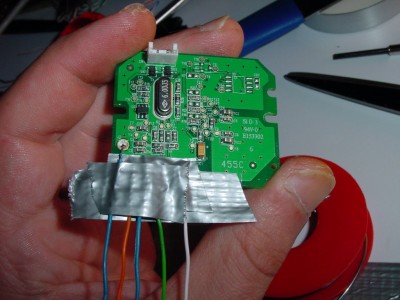
It seemed that I couldn’t close the enclosure really well with the original wiring in place on the camera-print. It could be that, when you try this project yourself, you can skip this step, but in my case I decided to resolder all the wires to the other side of the PCB so the enclosure would fit really well…
Actually, this took me quite some time and you can see the soldering is rather ugly… This has been my call for getting a better soldering iron, until now I did all of my projects with these cheap $5 soldering irons but I guess I hit a roof of something here…
Once soldered (and I used copper-wires from a UTP-cable) and the wires ‘folded’ around the print, I used duct-tape to secure it all a little bit more…
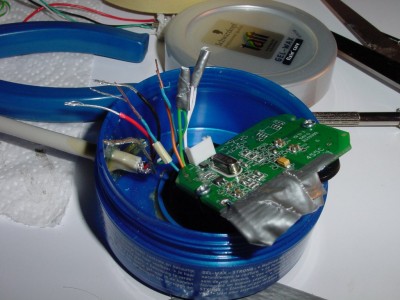
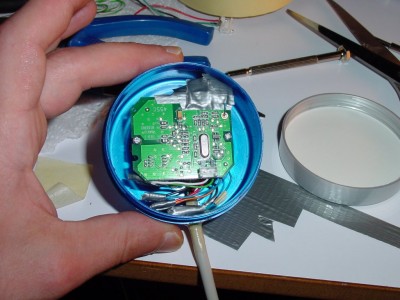
The next step being, connecting the just soldered wires to the ones inside the enclosure. When I would’ve known this upfront I wouldn’t have glued the wire in place in the enclosure and solder it straight onto the print. But well, this works too.
Everything in place! time to test it!
The first test…
Will it hold???
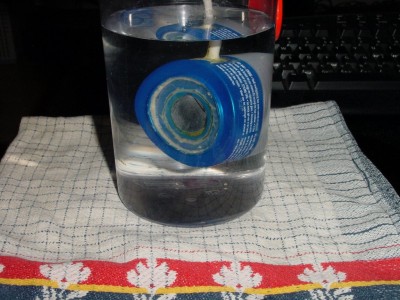
The first ‘under water’ shot from our just made cam!!! I actually held it there for a night and it still worked, so time to move on!
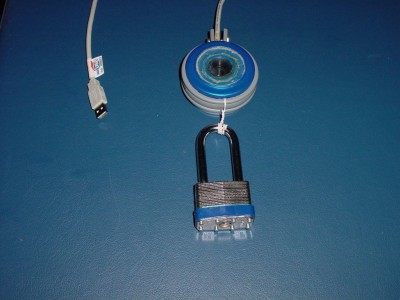
To make sure the cam gets submerged and won’t float around, I decided to add some weight… (I thought I could secure the ‘watertightness’ a little bit more by strapping around some rubber along the edge of the hairwax-container, but the piece of plastic I got from my local hardware-store fits to tight around the camera to put it in between. So even though it’s on the picture, I didn’t use it)
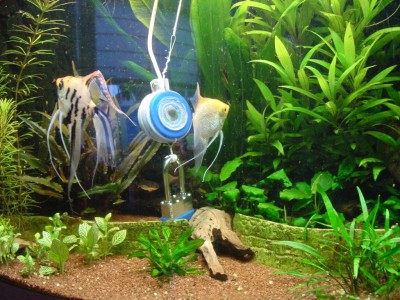
The end-result! It looks like… like what actually? Time to find an aquarium. Luckily I got a friend (Asim) who has this awesome aquarium in his livingroom, so after a call I could drop by with my geek-gear to test this cam even further…
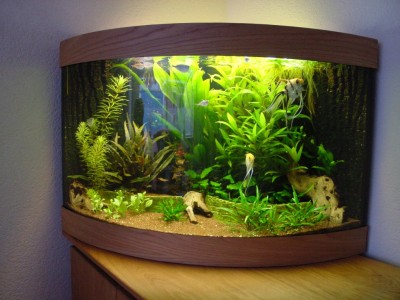
Asim’s aquarium.
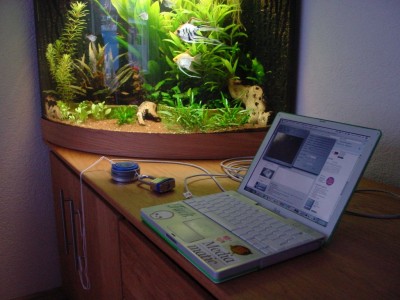
My laptop, the cam and an aquarium. Time to get to work!
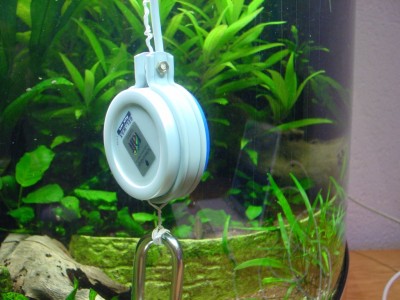
The camera just plunged in the aquarium (btw, you can also see another wire run to the camera. I added a piece of thread so not all the stress of plunging and lifting the cam get’s to be on the USB-cable. The entry-point of the cable into the enclosure probably is the weakest point…)
Here you can see it’s still the original hairwax-container… *^_^*
footage
First of all, how do we get footage? Well, when you connect this cam to a Windows PC/laptop (as it’s intended by the manufacturer, there’s no Mac-drivers from Logitech…) you should be set with the CD that comes with the cam… But… I’ve got an iBook and I wanted to use this cam. In the end it seemed that with a driver from webcam-osx.sourceforge.net I was all set in minutes, that’s how we like it! Taking pics and shooting video’s is extremely easy with this software, so hats off to the guys who wrote it!
After I was finished at Asim’s house, I noticed the focus wasn’t exactly perfect. I tested it upfront and I thought the seeing distance would be only a couple of inches, so I adjusted the focus very near by. In this first real-life test it shows you can easily focus a little further away (and luckily we can still adjust the focus on our cam)...
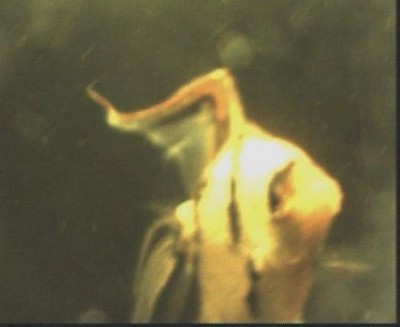
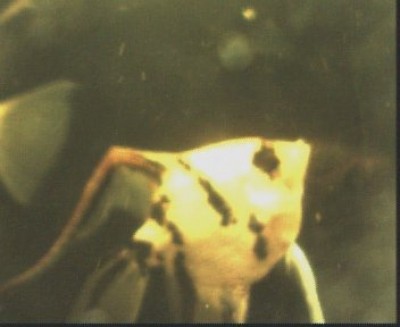
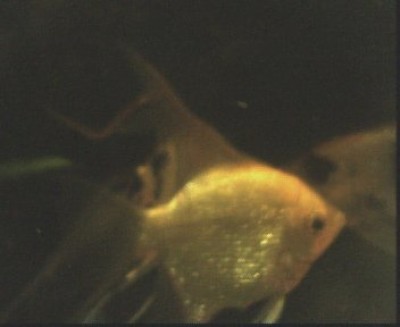
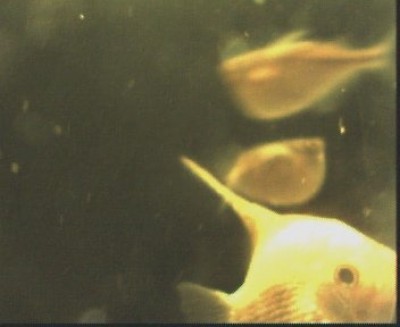
Any way, the under water shots with actual fish!
Verdict
Well, there’s a lot of possibilities for a cam like this I guess. Now I put it online, I can really go out and stress-test it to see how deep it actually goes. If there are people out there who build a similar cam or one inspired by this one, please leave a comment. Good luck on capturing some fish with it! *^_^*
DIY trackback
MAKE:blog ^_^
Stumble Upon
you can find all of my projects overhere





Nice one, now all I need is some fish :P
Congrats, Mark, it’s great! :)
sweet!!!!!!
makes me feel like a fish
this would be really fun to integrate some IR LEDs with and try sending it down into a dark pond or something to see what might be around.
awesom… like the angel fishies..
hey could you do the same with infrared cameras?
i like to see what my lobsters do at night.
COOL ! good idea
It is incredible. I looked something like this camera to copy. I am Brazilian and I live in Rio De Janeiro. If you to allow me, I go to copy this idea. (sorry my poor english, I used google to translate)
isch kenn noch so äner der so druff is wie du! aber cool
do you think its possible to make a wireless one or would it being under water mess the signal
What i did was put it on a long pipe so i can get it far down i the water i think i made it 10ft long
I don’t trust the cable entry, does anyone have an other solution for this?
how to make webcam cable
i cant help but notice that you demostrated with the blue enclosure for the webcam but the one you have in the tank is white. what happened to the blue encloser?
You people Clearly know nothing about fish
1. contaminants from the glue you should be using aquatic silicon.
2. The padlock is the quickest way to kill the fish ,
rist , barrel lubricants, hair wax detergents on the tub
i really feel sorry for your fish , Some one should report you to the Autorities for cruelty.
If you want to do it proporly
1. swap the hair wax tub for a clean plastic tub that has never been washed, bought specially for the purpose
2. use aquatic silicon for the Glue to seal the tub.
3. make sure the joins are all coated in Silicon.
4. finally make sure you place some nonconductive weight in the tub to weigh it down lead ball bearings glues in place with more silicon and covered to keep them non copnductive
5. alrenatively use a celar food bag with an open top, as it submerges the air will evacuate from the bag leaving only the electronics and since its plastic and clean no condcutivity problems just use your silicon to seal over any sharp electronics
the Smarter Solution or spend £135 on a propour submerale comera
@14 & 15:
FYI, I did this more than a year ago and those fish are still very happily alive. I’m not a fish-expert, but the guy whose aquarium it is couldn’t see any problem with what I made, so maybe your a little too sensitive here. Nevertheless, your tips are really quite good, but report me to the authorities? You must be joking.
Superb! I love seeing little projects like this. Well done for actually going ahead and trying it! I found this page after sitting by my aquarium and thinking “wouldn’t it be cool if you could modify a webcam to sit in there and watch the fishies”. BTW I expect that your glue, once set, is pretty inert and unlikely to affect the fish, especially given the limited surface area exposed to the water. I wouldn’t worry about it. ;) Very cool little project – thanks for sharing!
it dosent look geat because you need to paint it and the sides need to be sanded but still this is a proto typ make the fursenand post the instructionsthen market them and you will be rich this is cool still
Don’t put metal in fish aquariums. Padlocks, bolts & metal twisty ties are bad for fish health & water quality.
Great idea otherwise.
Thank you!!! I had to build a submersible camera for my science fair project, and I am accually going to state! Thanks so much!
It´s great. Thanks. But I think it is a waste to use a brand new lock with that pourpose.
i’ve got a whole bunch of old locks that can’t be used anymore. anyways, i thout it was cool.
Very cool idea, i like it. Some of the materils used are a bit dangerous to fish but other than that its a great idea. Its easy to duplicate it with saver materials in any case….its the idea that counts.
So have you tested it? How deep can you go? I have a koi pond 9.9ft deep and wouldn’t mind using this idea but is there not a way of getting it wireless? I would love to sit inside my house and just peek to see what my fish are doing outside 30m away from my PC.
Great idea! I finished building mine today, only difference is that i used fish friendly products and connected it to an air pump to create positive pressure inside the device so it could withstand deeper waters.
Hey, you are great! I like the way you did it, and I am going to make one too. I drive a truck and do computer repairs, so since somebody broke into my boss place and took 17 laptops from me, I decided to buy a webcam and set up a surveilance network so I can catch them next time, (they are coming back) So I am going to use my old webcam and try it. Thank you very much.
Hebert Centrone
Just what I want for the frogs
If the worst should happen and some water happened to get in, does anyone know if it would kill the computer? Or just that USB port? or Just the webcam and leave the PC okay? I want to try this in a riskier setting, but don’t want to kill my laptop. The only USB surge suppressor I could find online was for USB 1.1.
love this idea, I wish there was a way to do this without a laptop Or computer
@27 it might ruin the camera ( drying it if it was fresh water might get it going again ) but I’m fairly sure it would ruin any part of your computer. Worst case two wires get crossed. I don’t think it’ll kill your pc.
yeah i just crossed two wires from a USB cable and a message popped up saying that the USB port had exceeded its load limit. the port (and the pc) still works.
Awesome! I think I’ll do something like this soon!
Great idea! I was thinking of using something like this at our reptile park to monitor u/w behavior of turtles, however our pond water isnt quite clear enough. I might be putting one in with our filtered section with gharial crocodiles, probably best to move the wire down a PVC pipe. I first tried the extension thing with basking juvenile turtles, as they run into the water if they see someone. I cut off the USB connection, and using cable reconnected to the webcam but no luck:(. Cable length is about 10 metres….is this a problem?
Cheers
Nik
Dam I made one of these a couple of weeks ago and wish I saw these instructions first lol I would suggest however to replace the glue with fish tank friendly silicon, replace the lock with a stone as the lock is full of harmful oils. Also use a soldering iron to burn out the holes as I split my tub the first time round using a cutter :-Z .You can see my online live underwater fish webcam here http://www.livefishcam.co.uk
Great idea and well presented guide on your site
Merci. Il s’agit d’un post vraiment super. Tenez-vous au bon travail.
A wireless cam would have to operate on 5ghz frequency, the common ones use 2.4ghz which isn’t really compatible to water. Similar frequency is used in microwaves for that reason, power gets absorbed by water molecules, thus heating up your food.
That being said, 5ghz should be possible, though I personally doubt it would make sense for the average aquarium; you either still have to drill an opening for the power cable, or pack batteries into the enclosure, resulting in a bigger enclosure which also needs to be constructed in a way allowing easy access to replace or charge the batteries.
As for the concerns about chemicals escaping from the cables into the water – if you’re thinking about a permanent installation, you could just run the usb cable through appropriate tubing from the store, which is glued to your container.
I’m planning an aquarium right now, and i’ll see if i can incorporate a webcam into it; will report in with photos once I have done so.
I would like to make my own underwater camera to use with my laptop for live-only images, but I need it to go to depths of 50-75 feet min. Can you make your own USB/Print cables to your desired length? Or maybe there is a company that makes them?