How-to make a blue led mouse
This time we’re gonna make a blue led mouse… why? Well, don’t you want to stand out of the crowd? Show that you use your abilities to get yourself the products you want, either if they’re produced by some company or not? :-)
Whatever the reason, we show you how to get this subtle modded mouse (your granny won’t notice how special it is for instance… but anyone with a little knowledge of nowadays hardware will of course, and isn’t that what we want?)
What do we need?
- a mouse… (doh!) We used a pretty standard Logitech Optical Mouse, but you can use this How-to also to get the info you need to mod another mouse.
- a blue led… We used a clear led, rated 3.6V, diameter 5mm and at about 20mA this gives around 3500mcd of light. Earlier on we have used more expensive 5500mcd leds, but that doesn’t seem necessary at all… this led we used here can be bought at probably any electronicsshop for around $0.75
you do need a fairly brighter shining blue led than what the original red led was. The optical sensor is less sensitive for the blue light than it is for red light
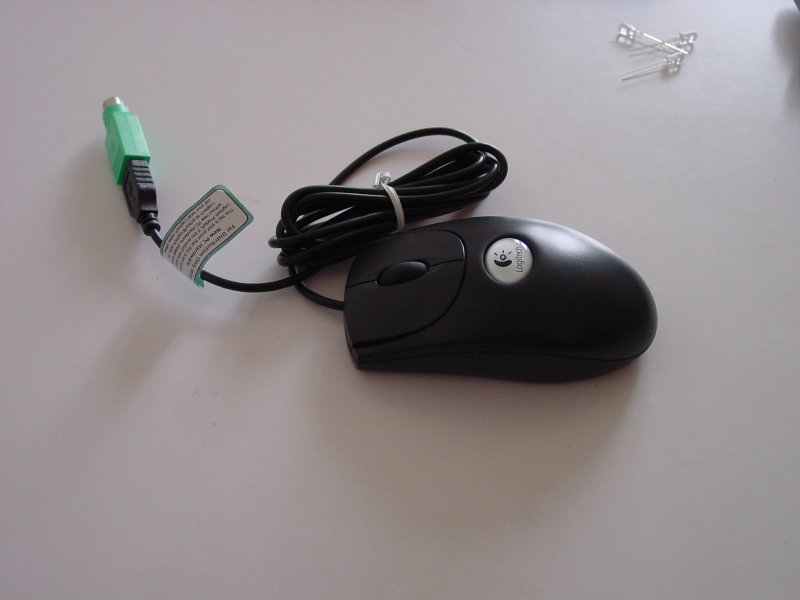
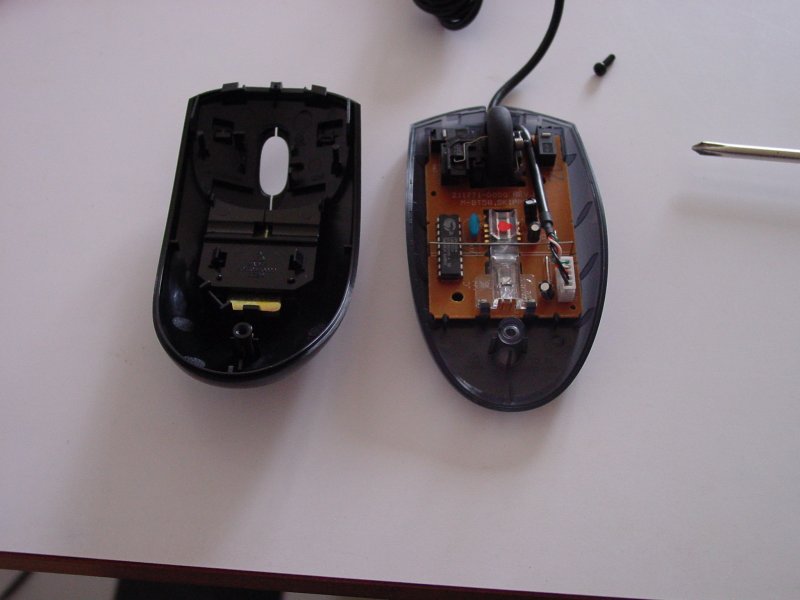
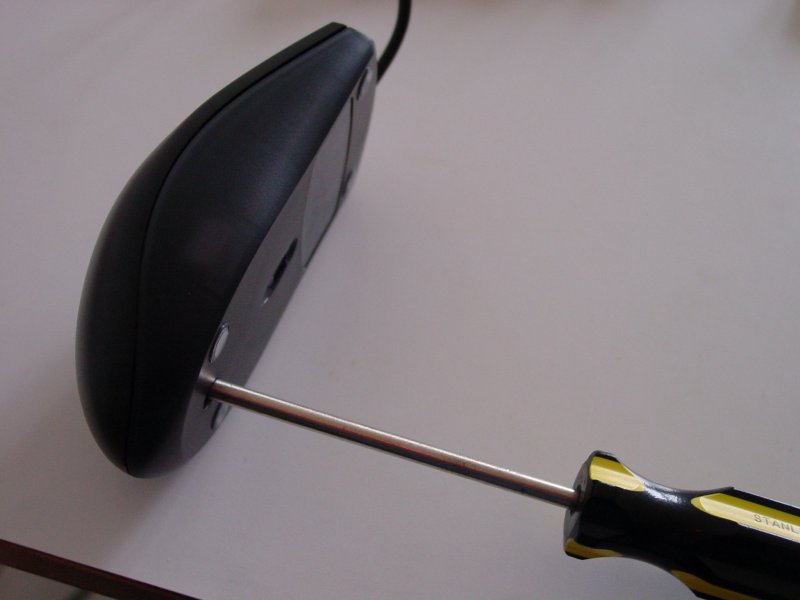
Due to the one-screw-design™ of the mouse we used, it’s one screw and everything comes loose!
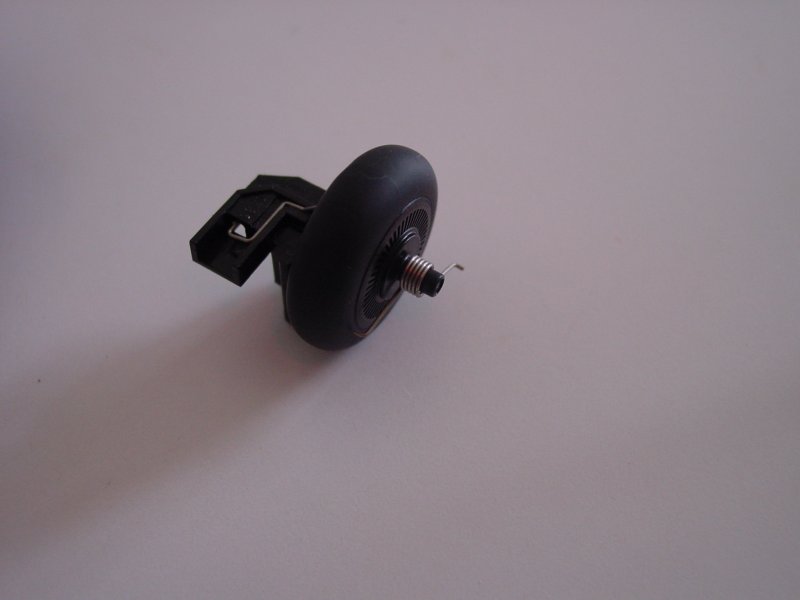
Gently take the scrollwheel apart and remember how the little spring is attached(it comes off easily)
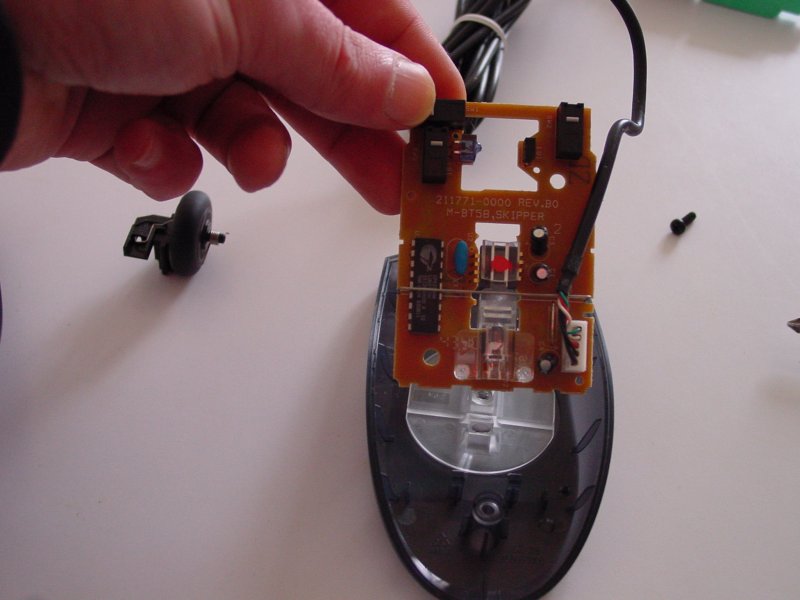
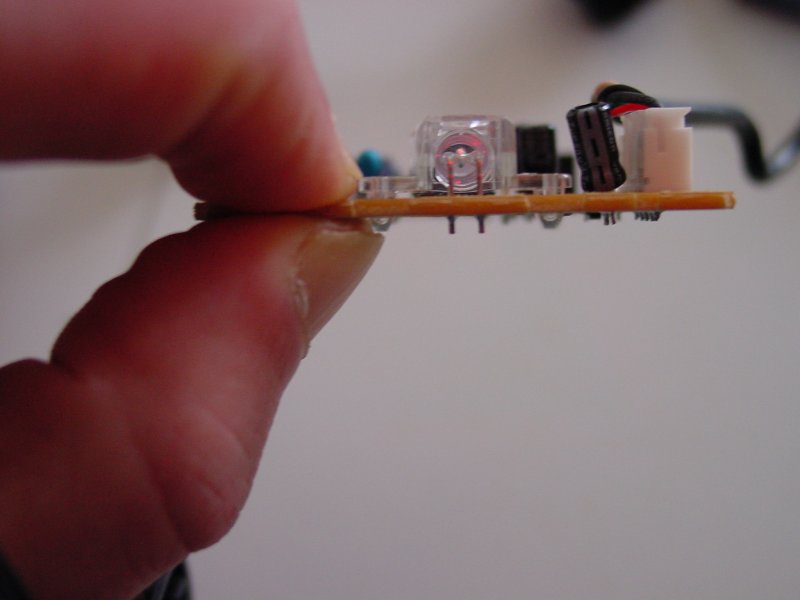
Get the PCB out…
remove this piece of metal

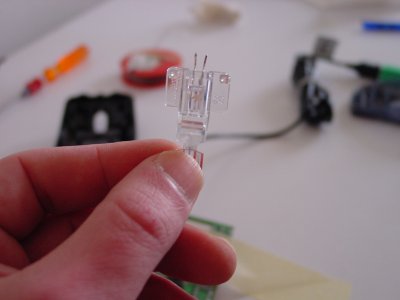
pop-up these little pieces of plastic
...and you can lift the whole plastic thingy, in which the red led is fitted


Now turn around the PCB and use the tip of a soldergun to gently remove this thingy
Tada! we’re getting there…
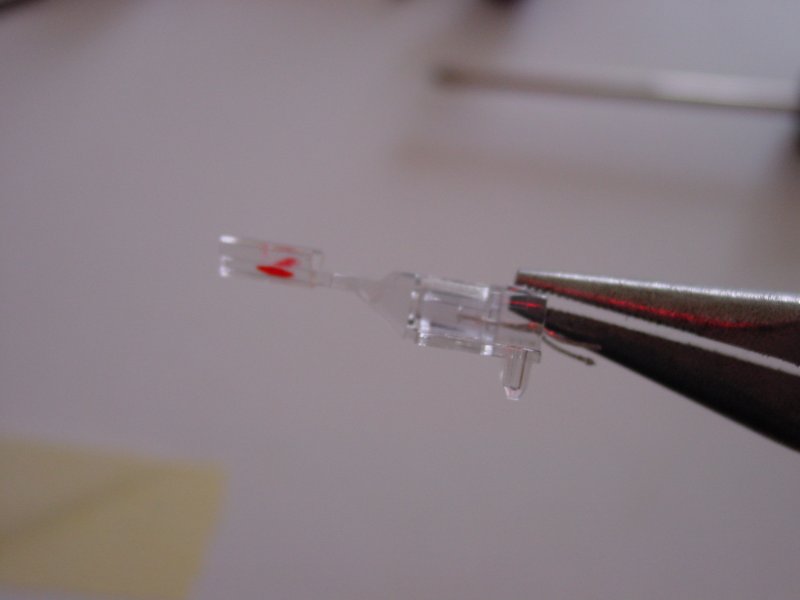
Now watch carefully, there’s a little piece of plastic which acts as some kind of hold-in-place-thing for the led. You can bend it to the other side to make sure you can get the led out.
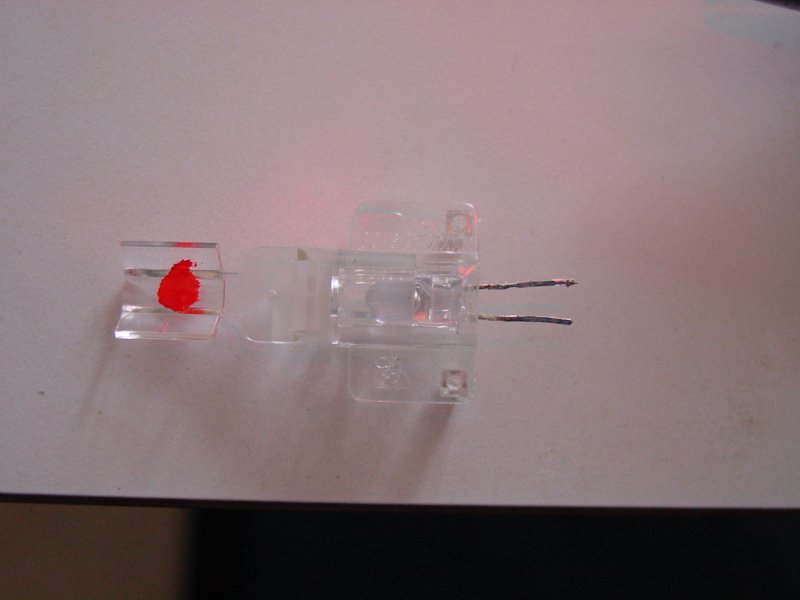
Before you remove the led, look carefully in the led to see at which side the little triangular piece is. Make sure you put the new led at the same side, otherwise it won’t work (it won’t damage anything either, but still)
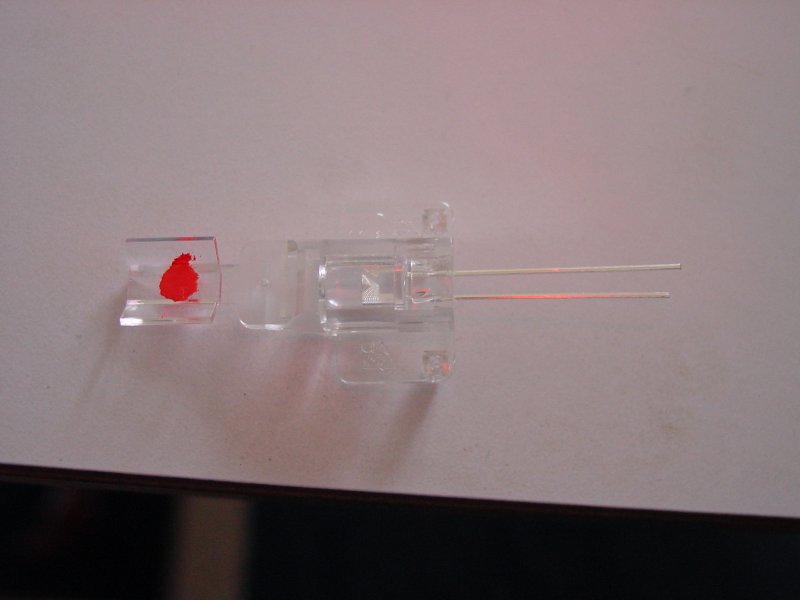
...and we put in the blue led.
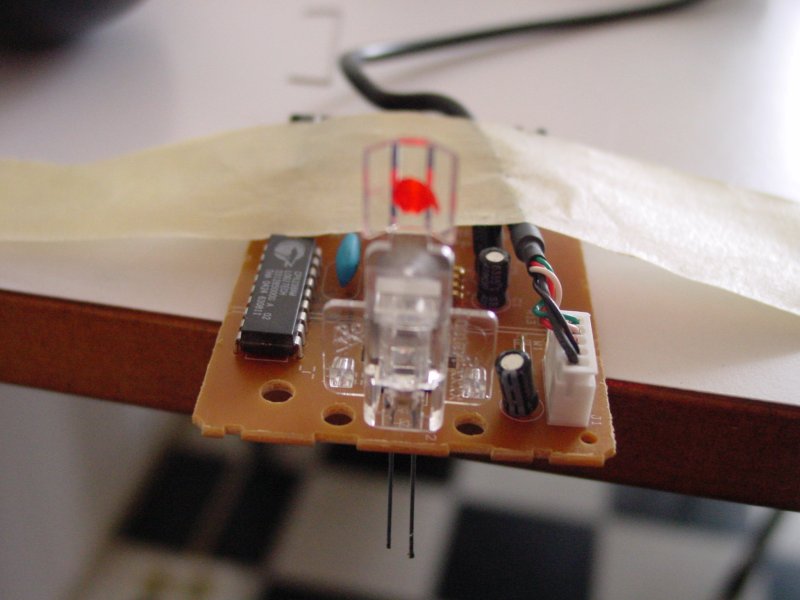
Now put it back into the PCB and bend back the whole optical unit and put back the little metal securer.
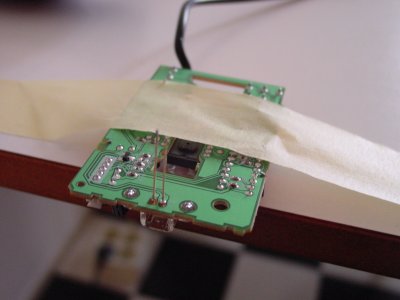
Use a little solder to make sure it’s connected well…

and get rid of the excessive material
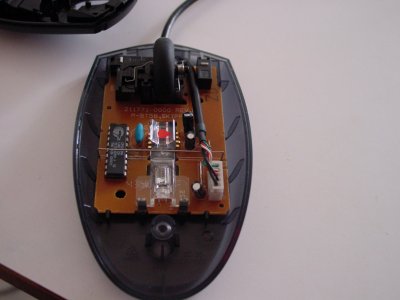
Put everything back together…
And, of course, screw back in the only screw :-)

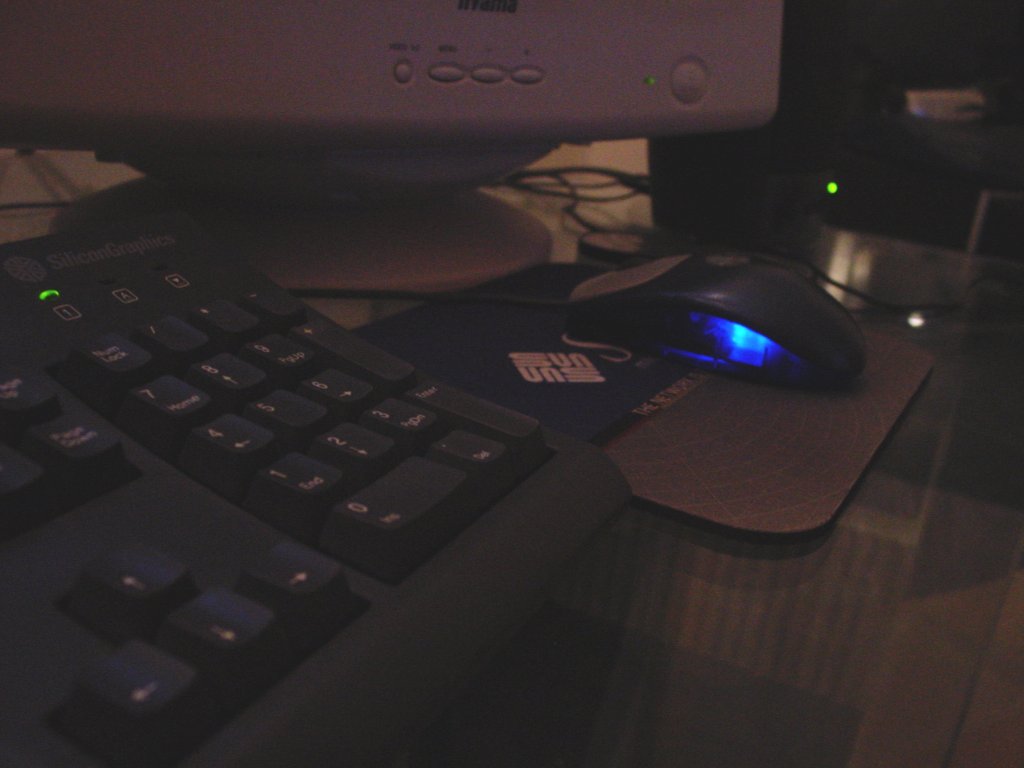
Tada! a blue led mouse…
Update
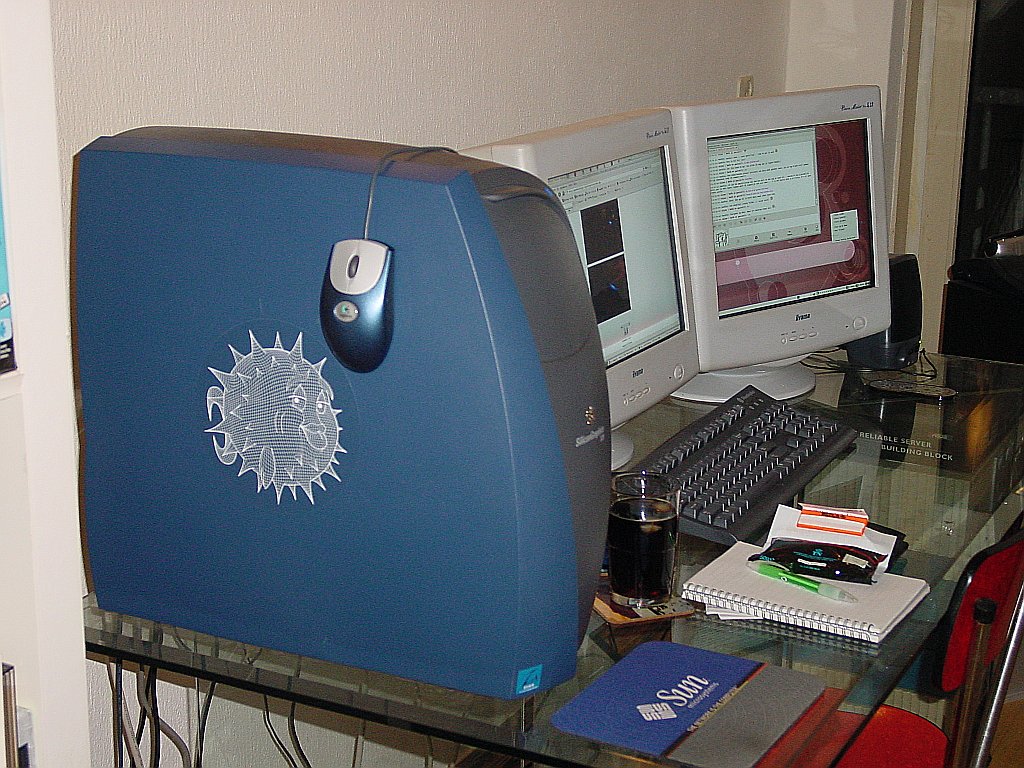
and yet another (well, to be honest, I already modded plenty of these mice this way, but most of them black ones. Now I came across this older blue metallic/grey one, I refurbished/cleaned it and modded it with a blue led… matches brilliantly with my workstation (imho))
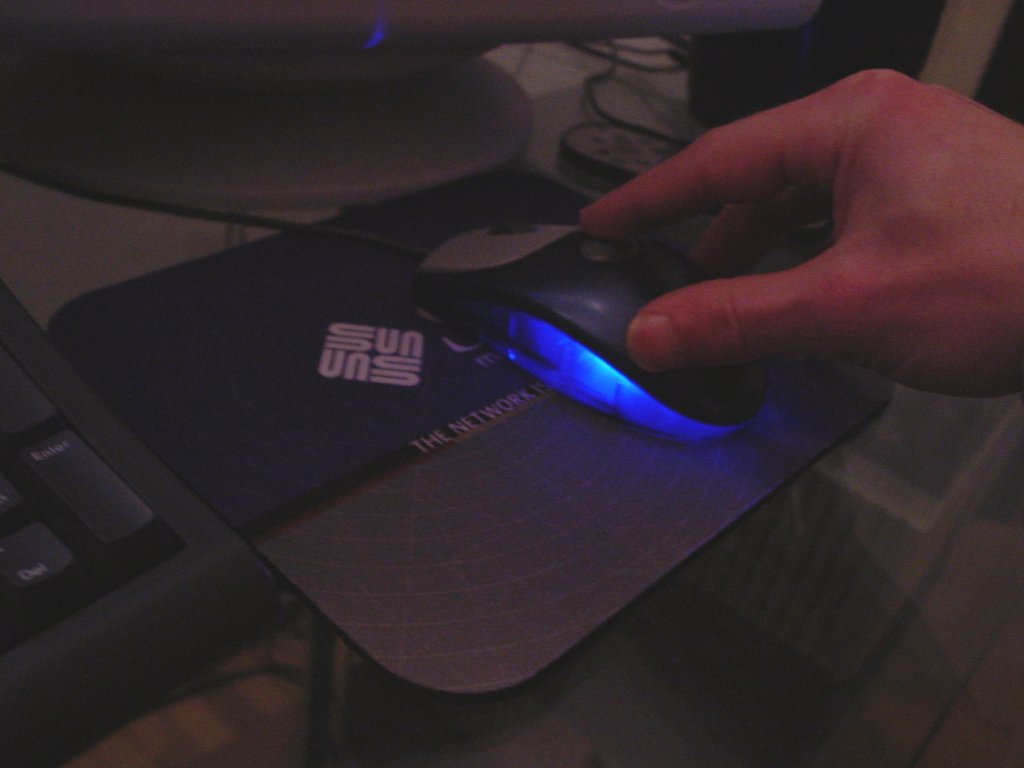
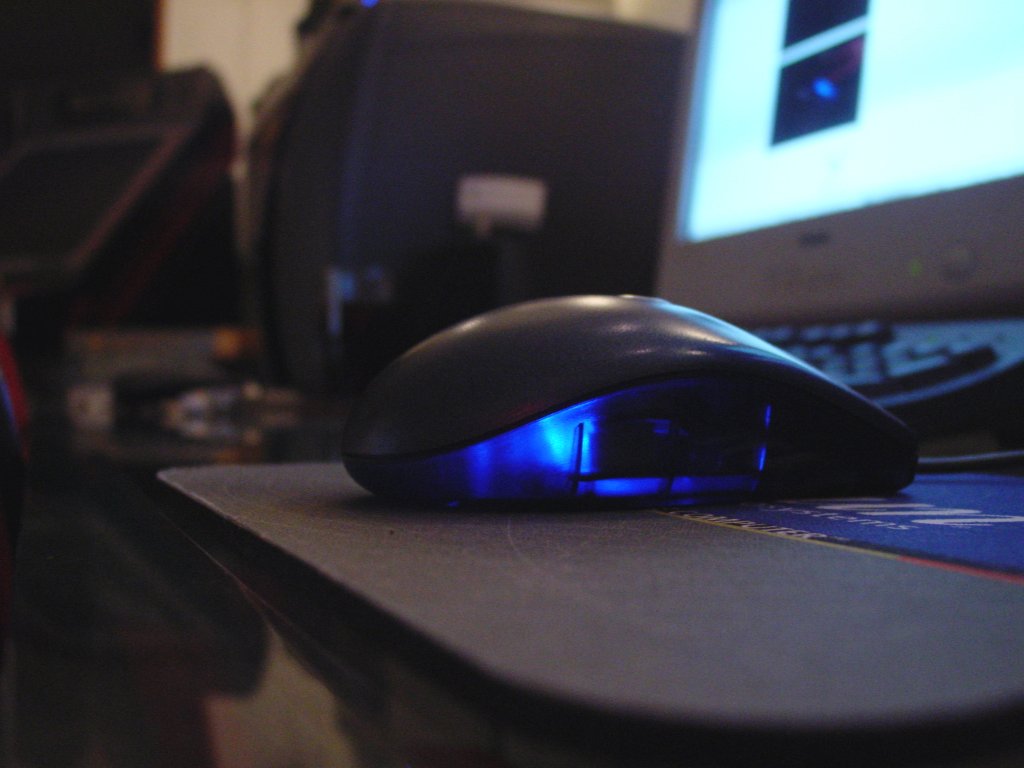

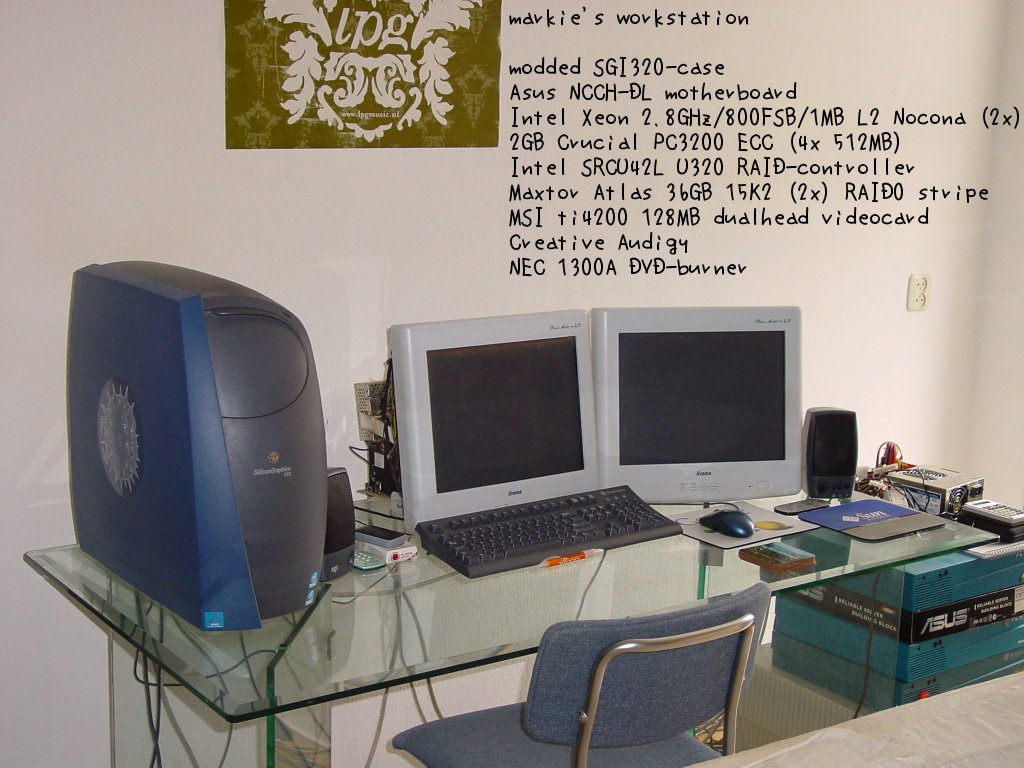
Here you can see why I chose this mouse for my workstation, and yes, earlier on I also modded my workstation (and not only with a blue led, or did you seriously think I would work on a dual 500MHz in 2006? ;-))
you can find all of my projects overhere


Maybe I should do this? I think I have a spare #4 mini optical mouse. . .
wow, that is amazing, you should do one with the mac optical mice. ha ha that would be awesome.
Nice work!
I should try that sometime…
im gunna try that, ill get back to you guys after i do
Hey that mouse looks familiar ;-)
i think i’ll try that on my new optical mouse, it already has a few blue LEDs inside it.
though i’d rather block the red from showing than buy a blue LED for 75 cents.
surely that would mess with the mouses optical design though?
It looks dam good, but doesn’t it affect the performance?
>It looks dam good, but doesn’t it affect the performance?
Well, I’ve been using it for quite a while now and also gave these mice away to friends and such and in normal usage there’s nothing that affects the performance.
Only thing I can imagine is that gamers or such could notice it, but they’re not opting for this budget Logitech Optical Mouse in the first place… ;-)
Anyways, I can’t tell a difference at all
nice work i will try that sometime
I have also done this mod to the same mouse (except the top was metalic blue rather than grey, and i used an expensive $5 Blue led). There is a preformance drop on some surfaces, it never worked well on them anyway though. if you use a mousepad, it should do fine (i found that it works exelent on blue jeans :D)
Hi, I wanted to thank you for your article! Though I dont care for such decoration I have a logitech MX518 optical gaming mouse that I took apart to repair my left button and when I did it fell apart and I had no idea how it went back together. Your photo’s helped me do so.
exclusive
witty…
i thought u are telling something of how to make an optical mouse from discrete components…but ..anyway…nice job…
I have an question could you use a multi colored LED insted of just blue?
I tried to do this but when I pulled out the red led, i didint use any soldering gun or anything, and just pulled it out from the pcb. After that it stopped working, even with my new led, so i think i damaged the pbc. Is there anyway to fix it? such as solder it back or something?
My situation is similar to “Vid” (26 July 2006). I have a M-BT58 Logitech Optical Mouse. It fell on the floor and was “loose”. After I removed the screw to open it up everything came tumbling out and I could not figure out how to put it back together. I contacted Logitech support and they told me it was “broken” now, and if I wish, I could contact technical support, and who knows how much they would charge to fix this. Time for a new mouse, right? No, when I saw the picture you posted (http://geektechnique.org/projects/img/blueled-opticalmouse-16.jpg) as part of your article, I was able to re-assemble the rodent within 2 minutes. THANK YOU!! Cool Blue, btw.
Ive done this mod on my Apple Pro Mouse. It was very hard, because there aren’t any screws in this mouse, its glued everywhere:S But I could do it, now it looks wonderful. But its a little bit affecting the performance, now it doesn’t work on the table very well. But its ok on a white paper.
becareful not to remove the connector oh the pcb to the led while removing the led.. this can cause.. a lot of trouble, especially if you don’t have soldering wire/metal.
also, use a low power soldering gun.. or you might burn the led/pcb..
Don’t worry burn the pcb too much.. it can take a little heat..
just make sure it is connected well.. =)
Hi. How it will work with Green one ?
I used a 2200mcd one, works like a dream.
Man, if you could ever do anything with replacing the red LED’s in the top part of the logitech G5 laser, let me know, I’m DESPERATELY searching on how to do so.
Thanks for that pic of the scroll wheel. I forgot where to place the spring that makes the scroll wheel scroll in steps (as opposed to being able to fine tune the amount by which you scroll the wheel).
Thanks to your pic I found out how to replace it ;-)
I just did this really fast, and sadly the led I used was of much too low intensity, it will only work on very light colored surfaces, but it is good enough until I get a brighter one. MAKE SURE YOUR LED IS VERY BRIGHT.
This was great info, got the whole job done in under five minutes! Thanks :D
I tried doing this, it worked fine until I clipped the access wire, I don’t know what’s wrong now. I’ll have a friend check it out tommorow.
When i went to the store to buy my LED they asked me about the angle. they offer me 20° or 60° angle LED, wich one should I pick ?
Thanks for the great pics! Helped a lot.
@Dan Rock : probably 20°. Most 5mm LEDs have narow angles.
@mark hoekstra: 1st of all, good job!. I haven’t done this mod, nor do I remember what I read on a similar project, but shouldn’t there be a resistor for the red LED that you can replace with a smaller value one? This way, you will probably get more voltage through the LED and achieve better performance. Of course, the replacement resistor’s value would have to be either experimentaly found or calculated properly.
You are an angel! I was trying to do something less radical (me being a girl and the time being late) – fixing the middle-click. I managed to misplace just two things (and not half of the beast =)), but still I needed to set them in place – and everywhere else on the net people say “buy a new one, you silly” instead of posting a photo of how it should look normally. Or even “If you want to repair a computer especially the hardware do it only if you have studied it i.e. done Hardware Engineering etc.”((c)not me) As if the teach mouse repairs in Uni…
Yay, it works! I have a working red mouse! Thanks the Universe for geeks :) And maybe someday I will try the green LED thingy… ;)
a une respirabilité certains.
Logitech M-BJ58 Wheel Mouse (optical; USB; 3 button; scroll wheel)
Thanks so much for this. I wasn’t trying to modify my mouse but only to clear out the accumulated gunk to get it working smoothly again. When I took it apart, the pieces fell out and I had no idea how to put one of the two springs back. Your picture enabled me to do it in about 30 seconds after hours of fiddling with different configurations and fruitless googling. As others have said, everywhere else, people just say to buy a new one – but what a waste for the want of a single picture.
Your posting was a mouse-saver!
(Though I would be curious to know what disadvantages there would be to deliberately removing the spring. Would it just get rid of the annoying clicking and jerky scrolling or would it have more serious consequences?)